


Won't it be wonderful to show the world something you've created so they can interact with it as opposed to just running that amazing application on your computer?
In this demo, we will be looking at how to deploy your Node.js app to Heroku, leveraging on the app built in my previous article How to send emails in your Node.js app using Nodemailer and Mailtrap. By the end of this demo, we will have our email sending app running on a public domain that can be accessed by anyone.
Pre-requisite
Now that that's set-up. Let's get to it.
Step 1: Create your Node.js application
Refer to How to send emails in your Node.js app using Nodemailer and Mailtrap
Let's add create Procfile file in the root directory and paste the code below:
npm start
The Procfile specifies the commands that are executed by the app on startup and is an important requirement for Heroku. Learn more about Procfile here
Step 2: Push your code to Github
Let’s create a Repository on GitHub by clicking New Repository and following the prompt.
In the command prompt, run the following commands sequentially.
- Initialize the Git repository at the root level:
git init - Add all the files to your local Git repo:
git add . - Commit your changes to your local Git:
git commit -m “Initial commit” - Link to your GitHub repository:
git remote add origin <URL> - And push your change:
git push origin master
You should see messages like below at the command prompt.

Refresh your Github repo. You should be able to see your code.
Step 3: Deploy to Heroku
Create a Heroku account if you haven't done so.
1) Create a new application and give it a name. The name will be included in the URL.
You will be redirected to the dashboard of your app.
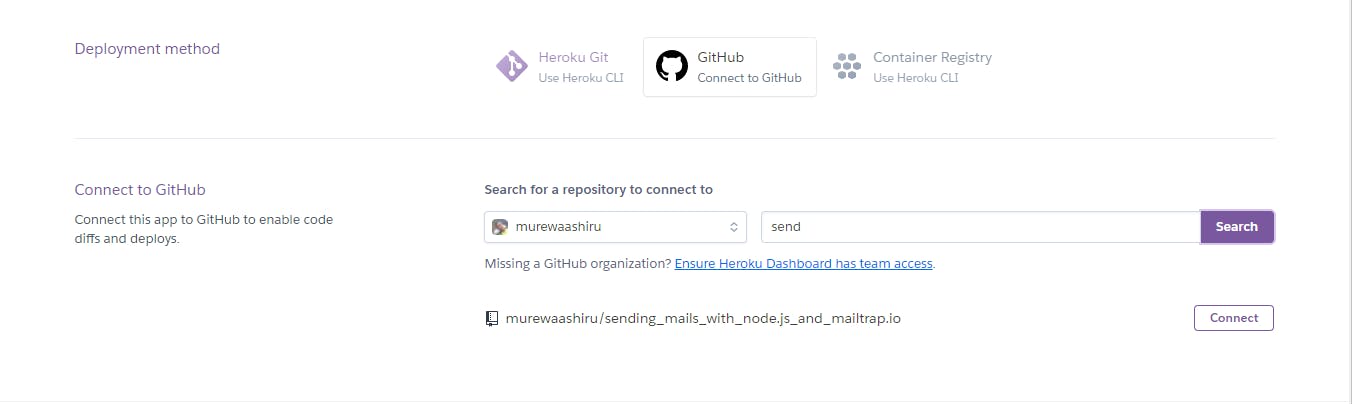
2) Connect your app to your repo
Open the Deploy tab and go to the Deployment method section.
Click on Github
Type your repo name and click on the Search button. You don't have to enter the full name.
When the result is displayed, click on the Connect button against the repo you just created.
3) Deploy your app
Scroll down to the Manual deploy section and click on the Deploy Branch button against the master branch (choose the branch to deploy).
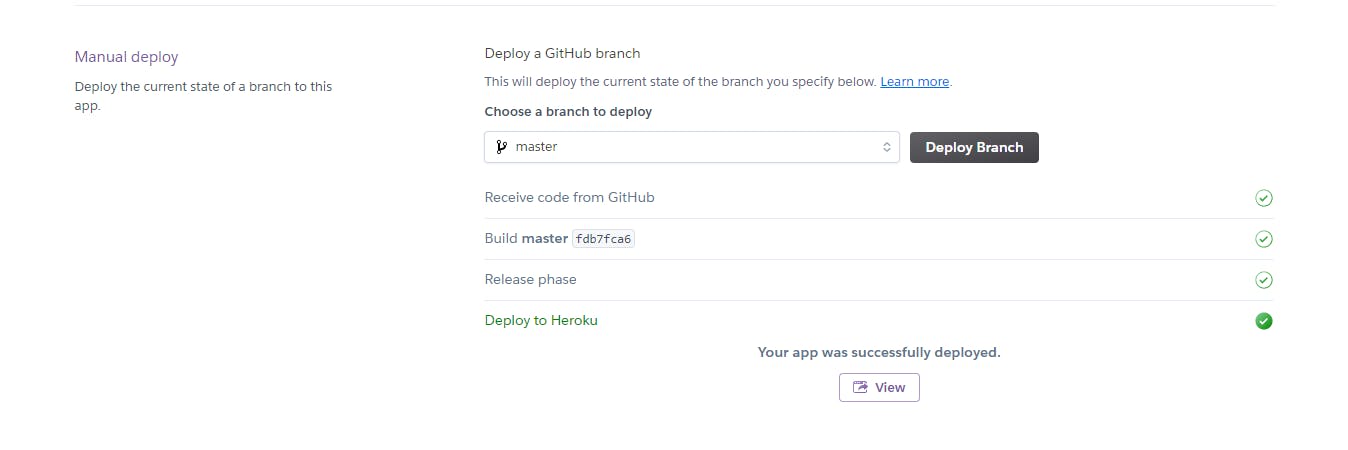 If you click on the View button, the app will crash because we have environment variables that have not been set.
4) Add the configuration variables
Go to the Settings tab.
Click on the Reveal Config Vars button.
Copy the values in your .env file and paste the key-value pair as applicable.
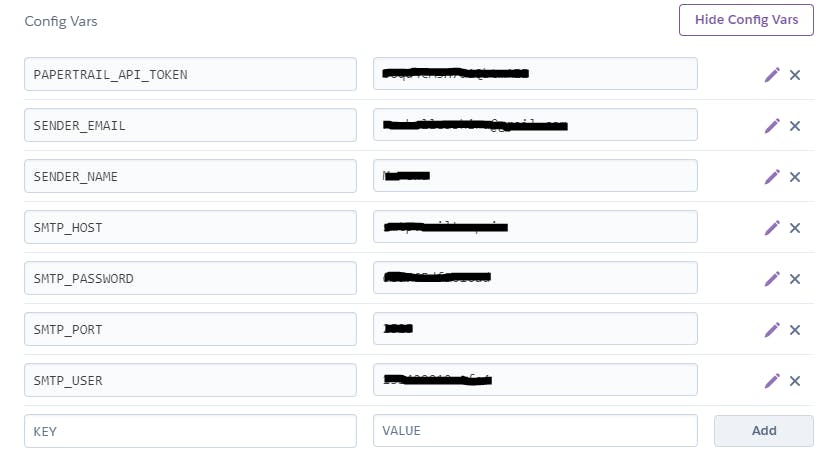
Take note of your domain in the domain section.
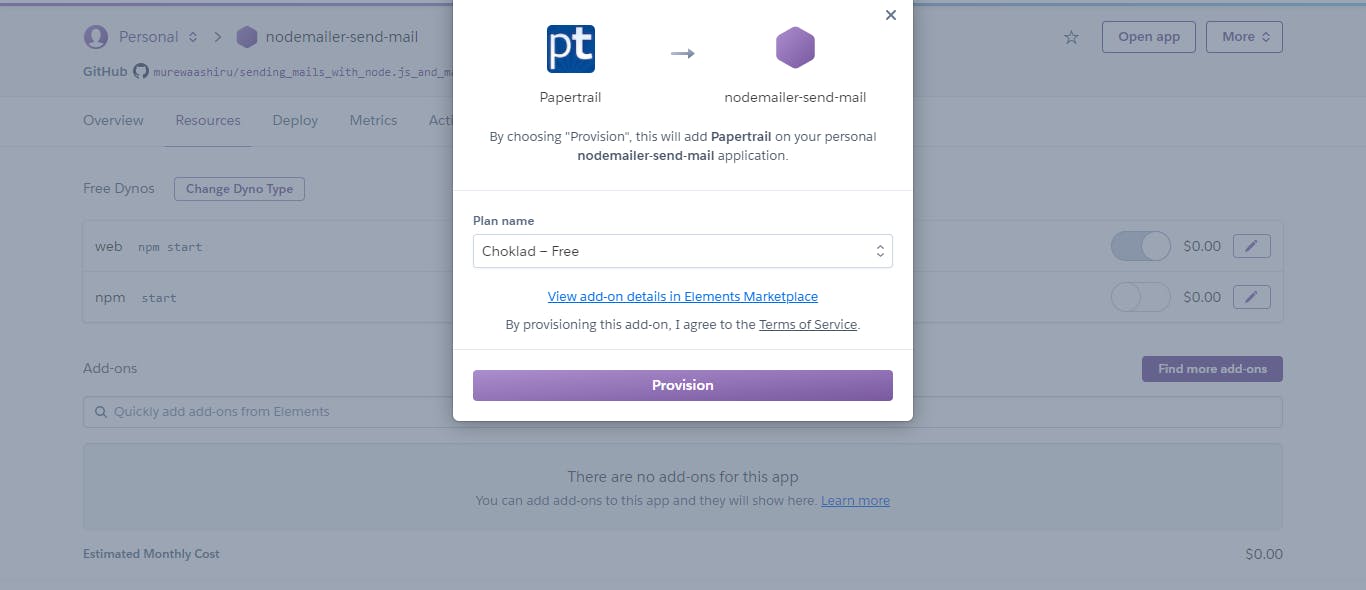
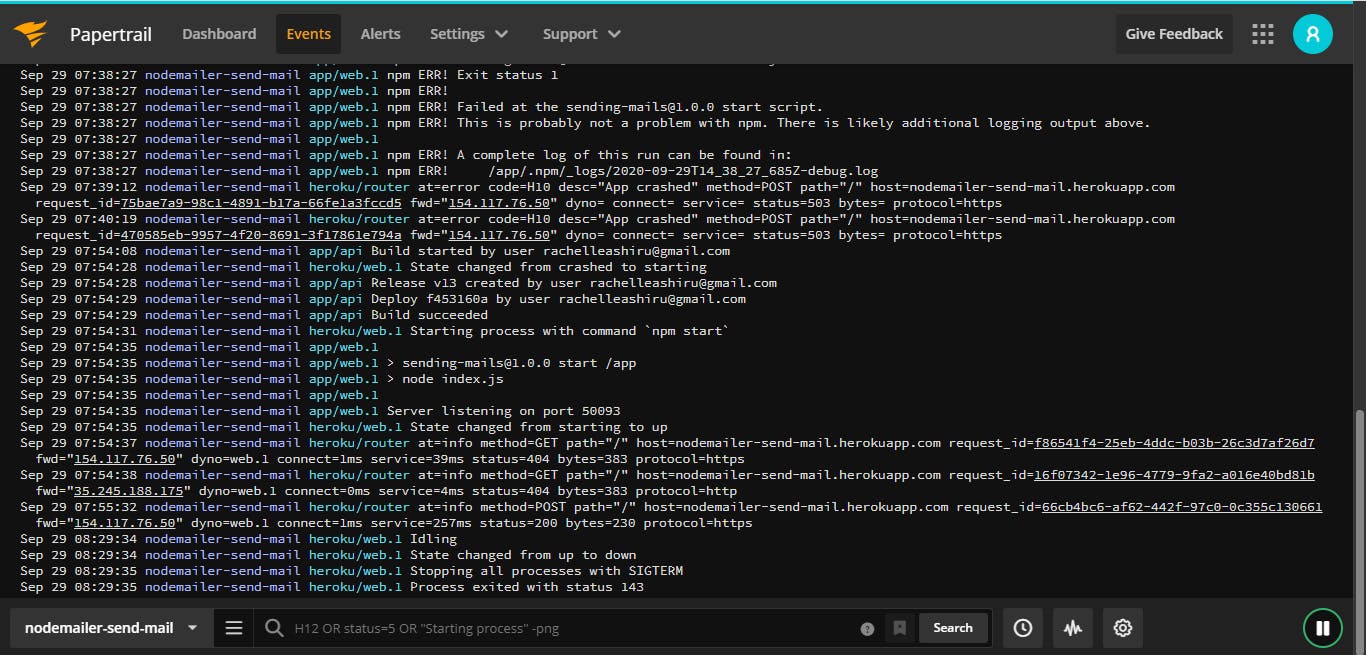
5) Papertrail for logging (Optional) Papertrail is a cloud-hosted log management tool for faster troubleshooting of infrastructure and application issues. It's a fantastic alternative to the default Heroku log solution.
Go to the Resources tab.
Search for PaperTrail add-on and click on the Provision button.
Your app is all good to go. Head over to postman and test your app.
Now that you've learned how to deploy a Node.js app to Heroku, you can try it in your project.
You can also check out the full source code here
If you like this article, feel free to comment and share. You can also reach out to me on Twitter | LinkedIn | Github
Ciao👋🏼